Topaz Clarity Review – Enhance Contrast and Clarity With No Artifacts or Halos
I had the pleasure of using an advanced copy of Topaz Clarity back in 2013. The latest version is called Clarity in Studio and you can download a free, fully functional trial version and use it for a full 30 days. So, you have nothing to lose by trying it out.
I try out a lot of photography software, and I end up uninstalling a great deal of it due to most of it being pure crap. However, I will never ever stop using my top three:
1. Photoshop
2. Lightroom
3. Topaz Labs
Topaz Labs software can be used as Photoshop plugins or as standalone software in photoFXlab. They are also compatible within Aperture, Lightroom and iPhoto if you use Fusion Express.
Topaz Clarity was designed purely to enhance contrast and clarity, and it does an amazing job with this. Most photo editing software already has this function. However, Topaz Clarity manages to accomplish this without the introduction of artifacts or halos, which is always a problem in other photo apps in my experience.
Even my beloved Lightroom doesn’t measure up to Clarity in Studio when it comes to contrast/clarity adjustments, although Lightroom is superior with a gazillion other things.
You can edit micro, low, medium and high levels of contrast with the corresponding sliders. This gives an amazing level of control over your image, since each tier of contrast has such a dramatically different result.
Also, this software has the ability to dramatically increase contrast without halos of any sort. Try to accomplish this by tone mapping a single photo in Photomatix. Not gonna happen.
Here are descriptions of what each level of contrast adjustment does:
To demonstrate the effect that each level has on a photo, I have applied each slider separately, turned up to 100%. In each example, the other sliders are set back to 0.
You can click on each photograph to view the full resolution.
Here is the original demonstration photo:
 Topaz Clarity Original – Photo Credit selimaksan. License to use this photograph purchased on iStockphoto.
Here is just the micro-contrast turned up to 100%:
 Microcontrast
Here is just the low contrast at 100%:
 Low Contrast
Here is just the medium contrast at 100%:
 Medium Contrast
Here is just the high contrast at 100%:
 High Contrast
After adjusting all of the settings to my liking, including the sliders under “Tone Level”, here is my result while still in the Clarity window:
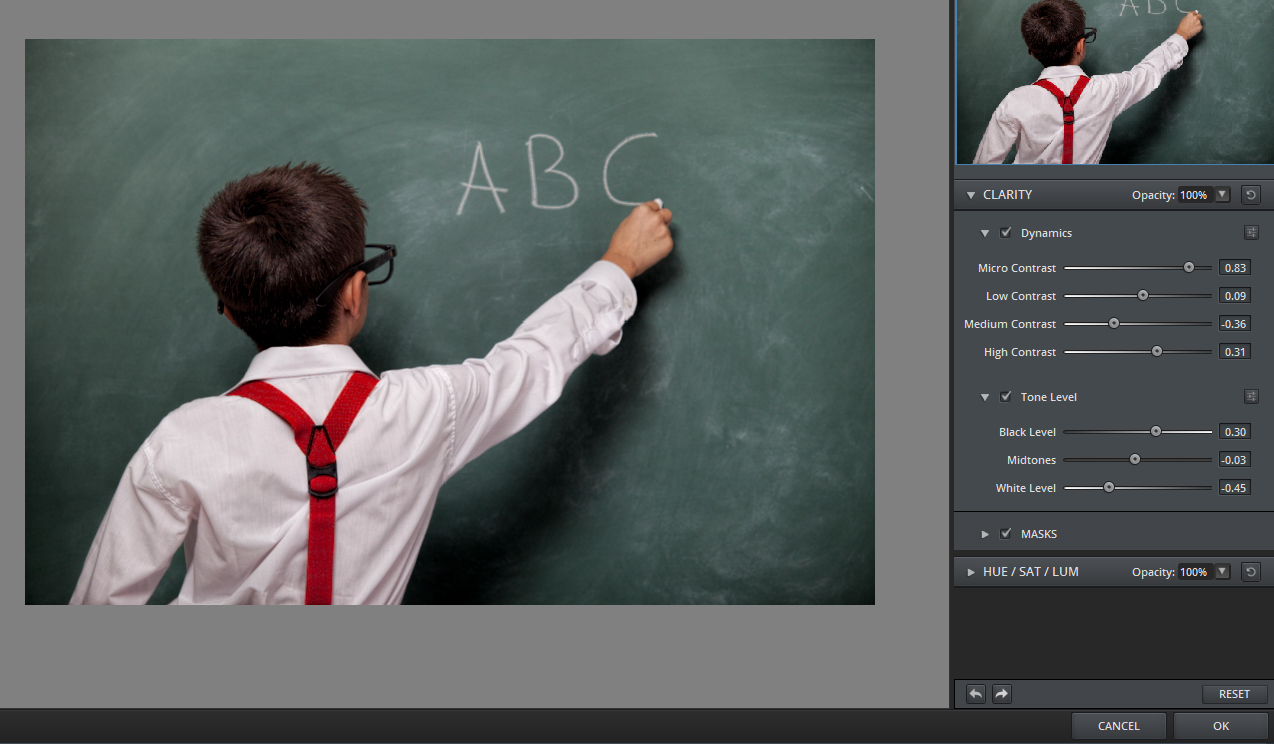 Final image settings Topaz Clarity
Finally, here is the image after being processed and saved. You can click on it to view it larger:
 After processing in Clarity
Here is original photo again, to make it easier to compare:
 Topaz Clarity Original
As you turn up the contrast, white areas start to appear a bit blown out. However, to fix this all you need to do is turn down the white level a bit. The original detail will appear in the white areas with no loss of quality.
There is an option to apply a mask to your photo as well. This enables you to either reveal or hide specific areas of the photo using a brush. You can also, switch over to gradient mode, which is the button underneath the brush.
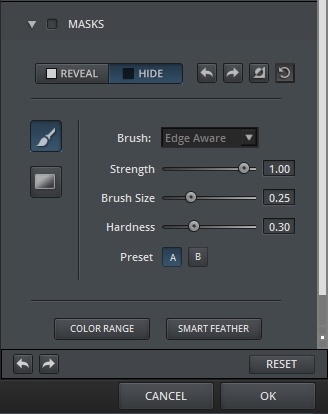 Masks Topaz Clarity
Like in other Topaz software, you can apply the presets that come preinstalled to your photos, or you can make and save your own presets.
Here are more before and after test images. Like the photos above, you can click on them to view them larger.
The first example shows just how much detail can be brought out in stone and other textures.
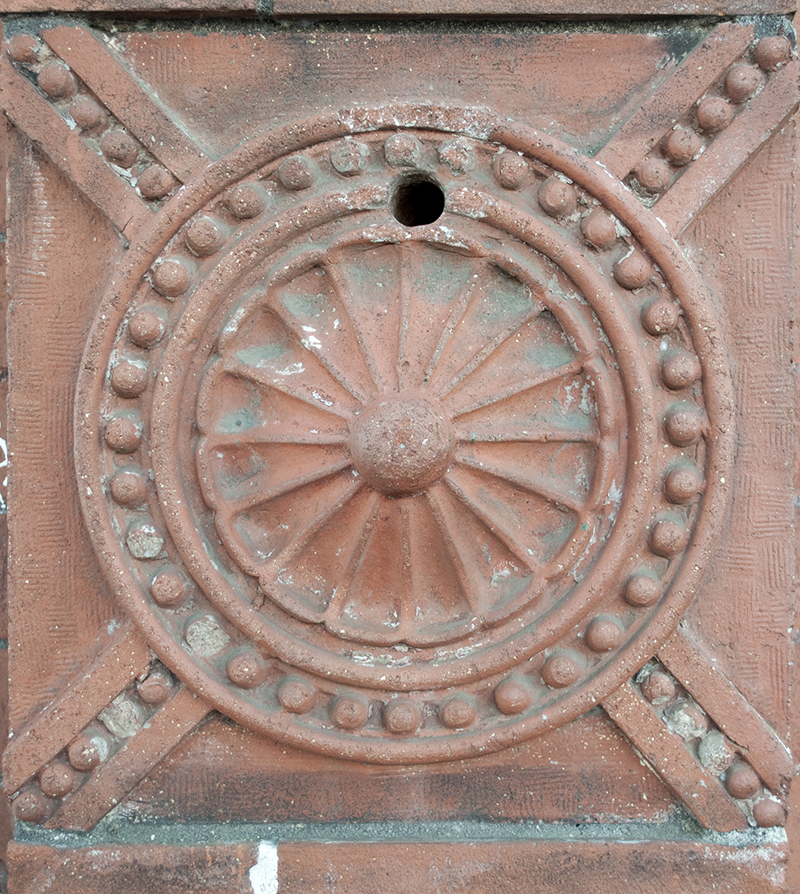 Brick Topaz Clarify Before © Rachael Towne 2012
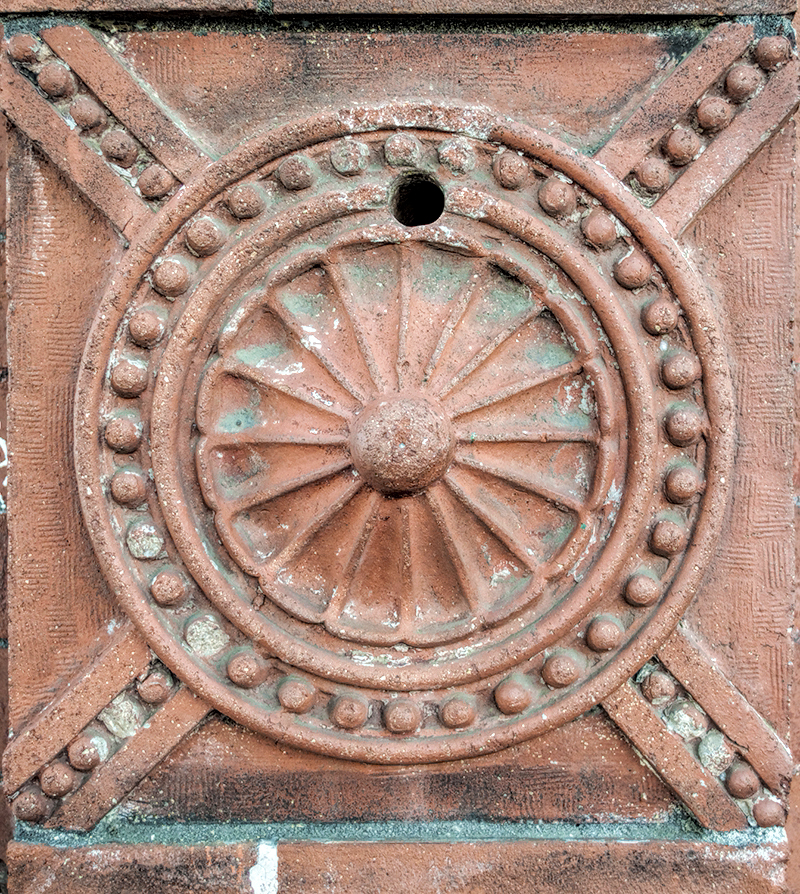 Brick Topaz Clarify After © Rachael Towne 2012
In this example, the model’s face, freckles and hair look much more dramatic and “moody” after being processed in Topaz Clarity.

Lindsay (Before Topaz Clarity) by Mike Monaghan, on Flickr
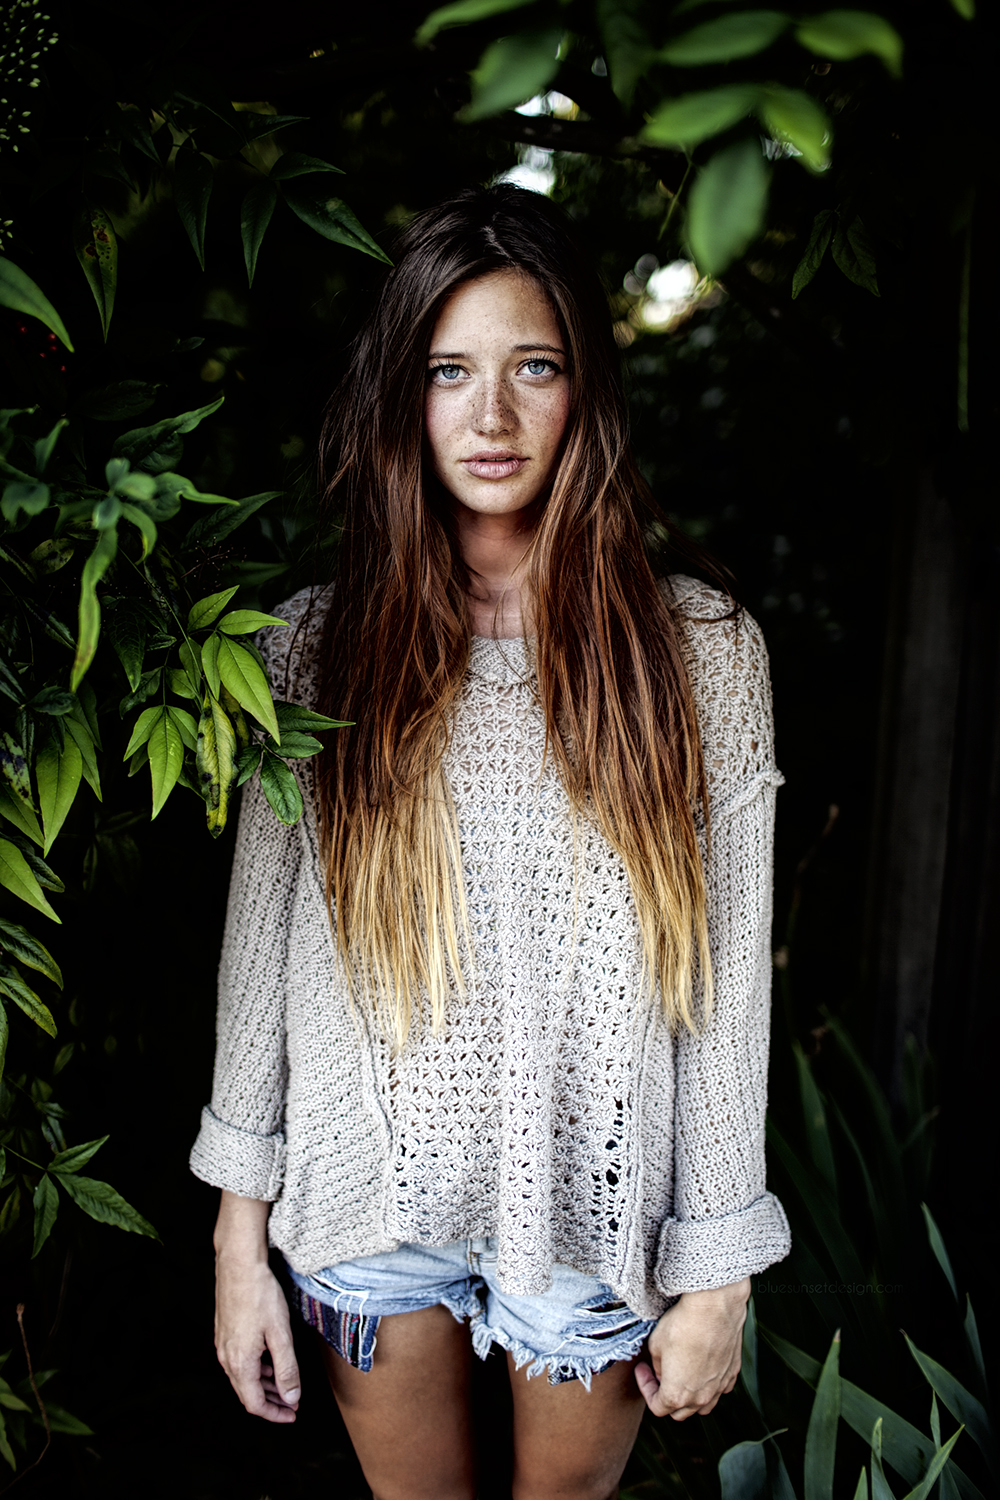 Final Topaz Clarity Result
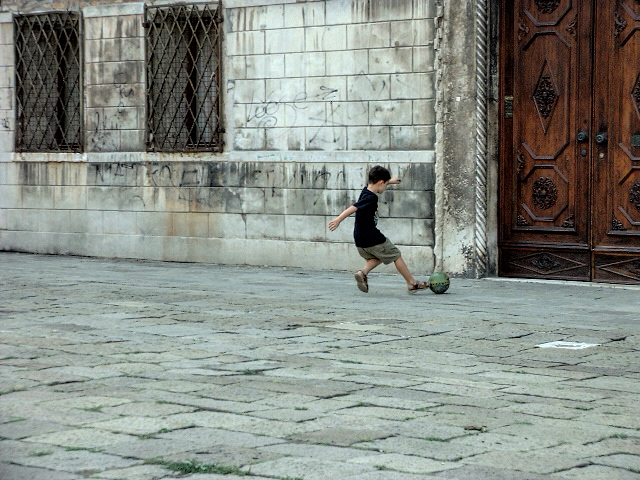
In this example, there is much more drama, texture and detail in both processed results without looking garish.

Street Soccer (Before Topaz Clarity) by jesse.millan, on Flickr
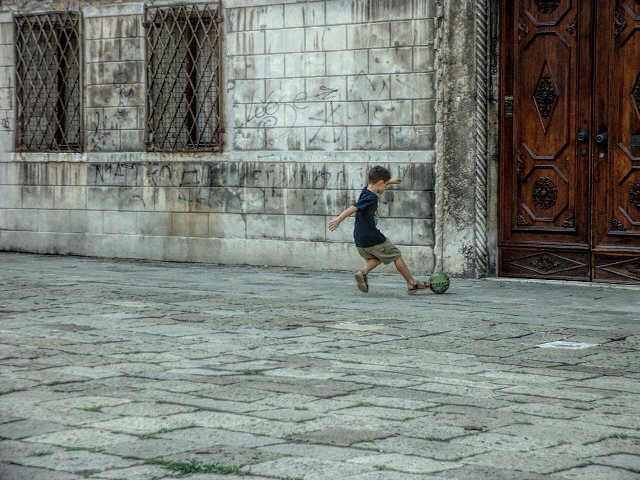 Stonework After Topaz Clarity
The cat’s fur has more detail and texture after being processed in Topaz Clarity.
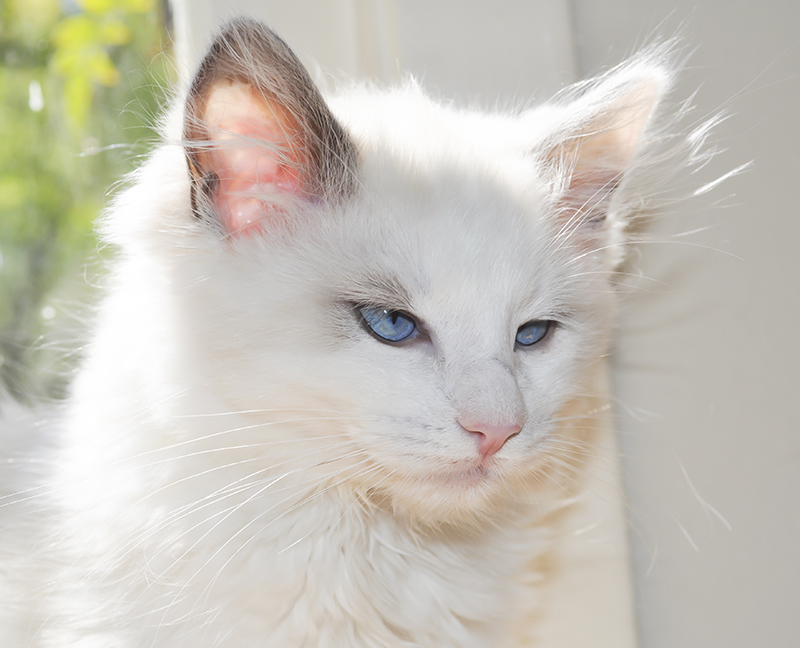 Cat Before Topaz Clarity © Rachael Towne 2012
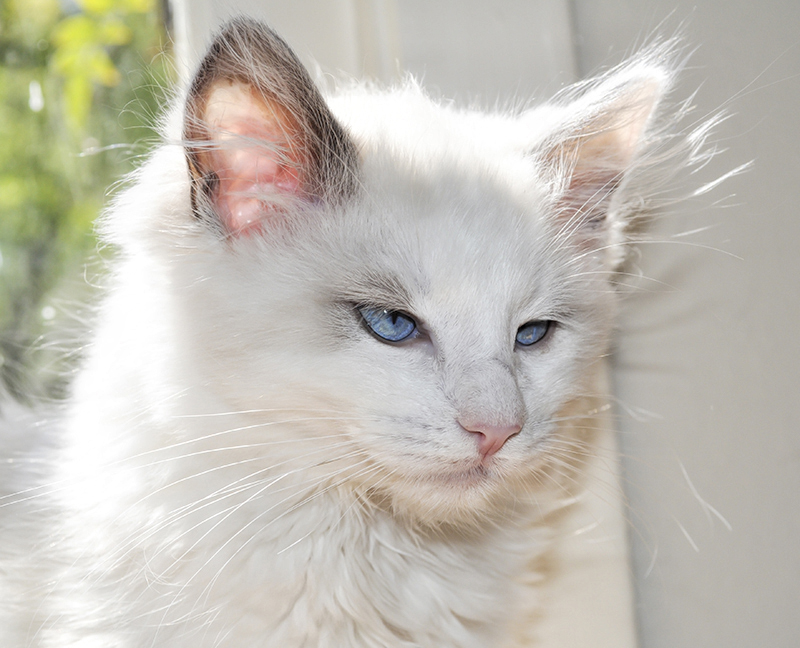 Cat after Topaz Clarity © Rachael Towne 2012
Like all Topaz software, you can download a fully functional free trial of Clarity in Studio. This will give you 30 days to decide if you want to fork over your hard-earned money for it.



One Response to Topaz Clarity Review – Enhance Contrast and Clarity With No Artifacts or Halos