HDR Tutorial – Photomatix Pro 4
Welcome to my HDR tutorial and Photomatix Pro Version 4 Review
Get a 15 % discount on any Photomatix product by entering the coupon code photoluminary during your order from HDRsoft.com. Photomatix Pro is typically $99, so that’s quite a discount! Last July, I wrote a Photomatix tutorial which was aimed at beginning HDR photographers. Due to the release of Photomatix Pro version 4, which is significantly more packed with features than its predecessor, I have decided to start anew and write a new review and tutorial. Like my previous tutorial, I will start out with providing some basic information about HDR photography, as well as provide some helpful tips for beginners on things such as camera settings. HDR photography has generated a certain amount of controversy among photographers. There exist photography purists who hate HDR and think that it’s both ugly and a form of cheating. Among these photographers, it is thought that achieving the perfect exposure with a single shot should be the goal. On the opposite end of the spectrum there are photographers who prefer the “no holds barred” look in HDR. Colors are deliberately over-saturated and perspective is obviously and dramatically skewed for artistic impact.
In my opinion, photography is an art form, so neither camp in the HDR debate is either right or wrong. Isn’t it lovely that we don’t have to pick a certain artistic or photographic process, simply because somebody else thinks we should? In the early days of Photoshop, many people scoffed and proclaimed it to be “cheating” at photography. Now no professional photographer would go without it. These days HDR software is under fire for many of the same reasons, but it is predicted by some that this attitude will shift over time, just as it did for Photoshop. I would suggest downloading the trial version of Photomatix Pro version 4 from the HDRsoft website, prior to going through the rest of this tutorial. Unlike a lot of other down-loadable software trials, the trial version of Photomatix Pro is fully functional and never expires. However, it does leave watermarks on saved images. The watermarks can be removed from the processed images once a license is purchased and the software has been registered. This will only work if the saved images have received no post-processing. For example, if you change the brightness of the image, or crop it, you won’t be able to remove the watermark. Here is the download link for both the Mac and Windows version of the trial: http://www.hdrsoft.com/download.html So without further ado…
What is HDR Photography?
In simplest terms, HDR photography consists of taking bracketed exposures of the same scene, and then combining them to create an image which will have details in both the highlights and shadows. In a high contrast scene, there would be no way to properly expose the entire scene with just one exposure, and in traditional photography there would be no way to get around this. Prior to the release of Photomatix, some photographers would take bracketed exposures and then combine them manually in Photoshop. Many still do this and prefer it. I have tried both the manual method as well as several brands of HDR software. Photomatix is definitely my preferred method for creating HDR images. If you look up Photomatix on popular photography sites such as Flickr, you will see that the majority of HDR photographers would agree.
How Do I Take Bracketed Exposures For HDR?
Your bracketed exposures must all have the same aperture, or due to the varying depth of field, you final result will be out of focus. Most cameras these days have an Aperture Priority mode, and this is the easiest way to keep a consistent aperture. Aperture Priority mode allows you to change the aperture manually, and the camera then picks the proper shutter speed. You can also set your camera in Manual Mode and set both the shutter speed and aperture your self. The next important camera setting option would be Auto Exposure Bracketing. This will allow you to automatically take three to five bracketed exposures. Many cameras also have a Continuous Shooting mode. For instance, my camera will enable me to choose auto Exposure Bracketing as well as Continuous Shooting, while in Aperture Priority Mode. With this configuration, all three exposures are taken very rapidly, and then the camera pauses, allowing me to take my finger off the shutter release button. A 2 EV spacing of your exposures is ideal for the purpose of HDR with a medium dynamic range scene, but a 1 EV spacing is OK as long as your camera can take five or more exposures with Auto Exposure Bracketing. If shooting a high dynamic range scene, such as the interior of a room with a view outside the window on a sunny day, at least five exposures at 2 EV spacing, or nine exposures in 1 EV steps should be taken. There are situations where you may need more than this to cover the range of the scene. The following link contains a list of camera models and their Auto Exposure Bracketing settings: http://www.hdr-photography.com/aeb.html Photomatix Pro will process JPEGs, TIFFs and RAWs from supported cameras.. Many photographers prefer to convert their RAWs to either TIFFs or JPEGs prior to combining their exposures in Photomatix, myself included. If I know that I am only going to be taking multiple exposures of a non-moving scene for the purpose of creating an HDR image, I shoot in JPEG. Otherwise, I have my camera set to take both RAW and JPEG, so that I have the option later to create a pseudo HDR from a single RAW. HDRsoft has some detailed information about this subject in their FAQs, which I recommend reading, here: http://www.hdrsoft.com/support/faq_photomatix.html#process_raw For more a more detailed explanation of selecting exposures for HDR, I would again suggest reading more on the subject at HDRsoft.com, here: http://www.hdrsoft.com/support/faq_photomatix.html#select
Can I Use a Single RAW File To Make An HDR Image?
There is also the option to create a “pseudo HDR” with a single RAW image. While not true HDR, this may sometimes be your only option if your scene contains moving elements such as vegetation blowing in the wind, or a crowd of people. Also, there is not always time to set up your camera and tripod, as some scenes and subjects are fleeting. There are three methods for using Photomatix Pro with a single RAW exposure. Method three typically gives the best results, but this is less so now with the release of version 4, since the new version now has a high quality noise reduction algorithm.
Method 1:
You can simply open your RAW file in Photomatix Pro, and tone map it directly.
Method 2:
Convert your single RAW image file into a 16bits/channel image in your RAW converter, open it in Photomatix Pro, and then tone map it.
Method 3:
Create multiple exposures in your RAW converter, and then combine them in Photomatix Pro, in the same way you would other bracketed exposures.
Photomatix Pro Version 4 Tutorial
You may have taken some bracketed exposures of your own, but if not, you are more than welcome to use the following images for practice. To download the full resolution of each image, please click on each thumbnail, right click, and then choose “Save Image As…”.
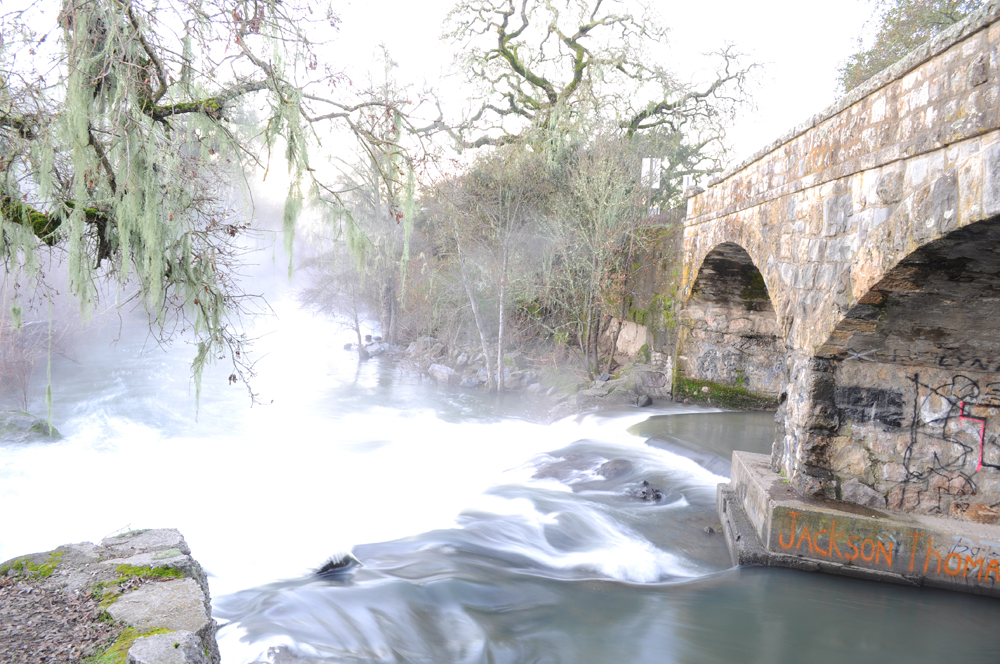
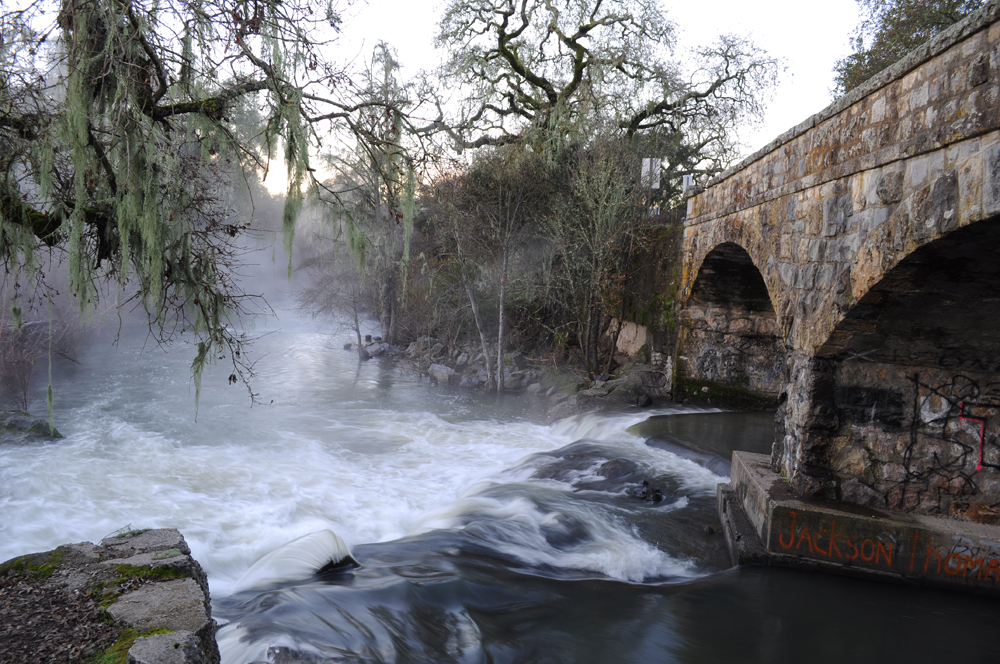
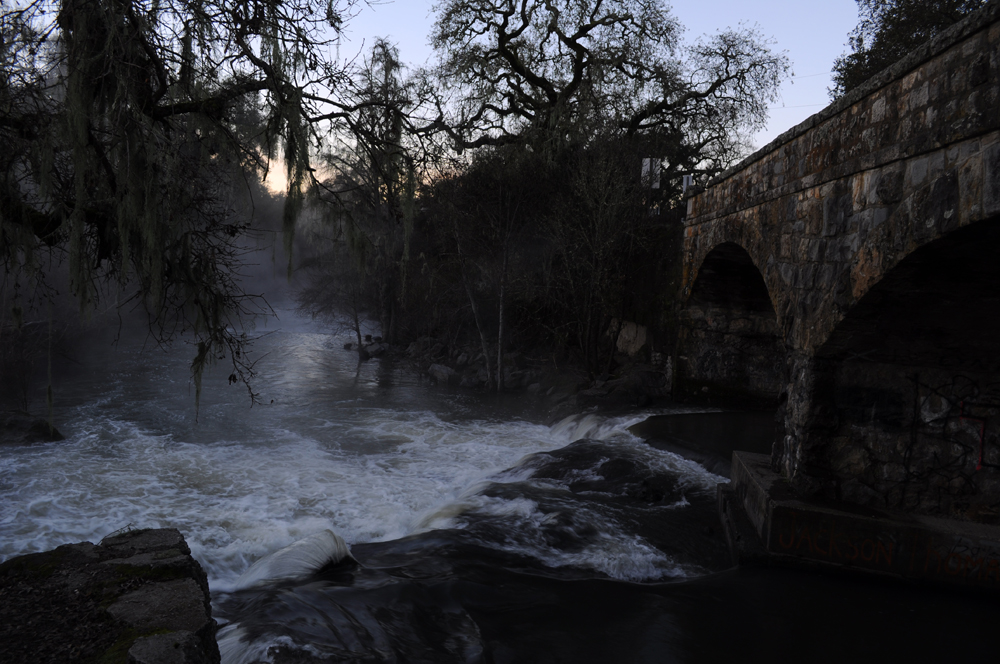
Your first step would be to open the Photomatix Pro version 4 software. I have both a Mac and Windows computer at home, but for the purpose of this tutorial and review I am using my Windows 7 laptop. With both Windows and Mac, you can either drag and drop your bracketed images to the Photomatix icon (umbrella icon) or you can open the software first. If you choose the drag and drop method a little window will pop up that looks like this: 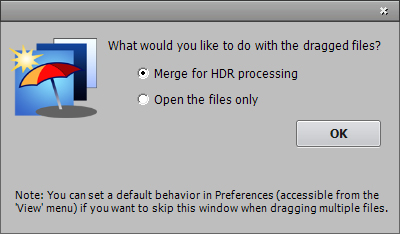 Choose “Merge for HDR processing” and then click “OK”. If instead of dragging and dropping you choose to open the software first, you will first see the following window:
 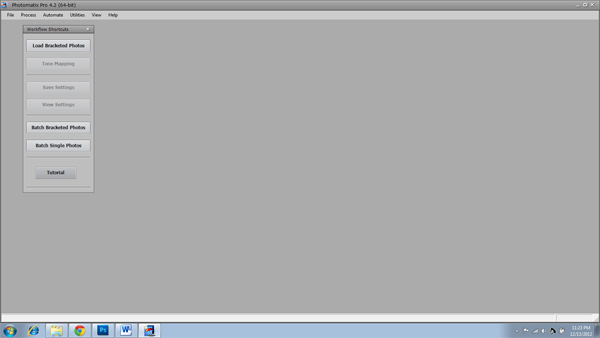 Click on the “Load Bracketed Photos” button and then browse for your source images:
 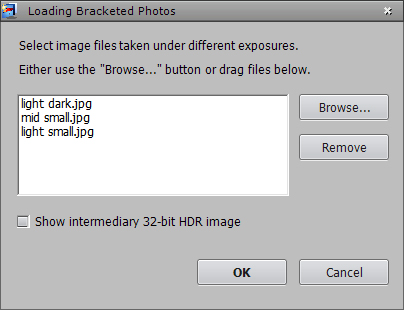 Click “OK”. The Preprocessing options menu will then pop up:
 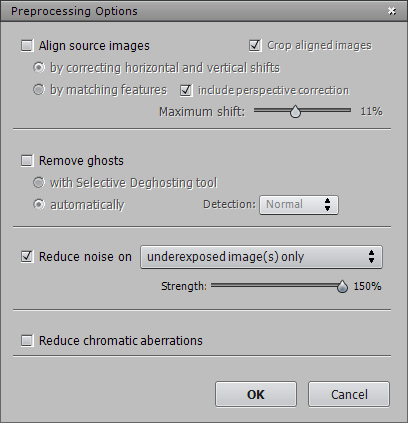 If there is any chance that there was any camera shake or subtle movement between exposures, then you will want to check the “Align source images” box. For very subtle movement, choose to align by correcting horizontal and vertical shifts. For hand-held shots choose to align “by matching features”. If your scene contains moving objects such as foliage blowing in the wind, you will want to check the “Reduce ghosting artifacts” box. In most instances it is best to choose to remove ghosting with the “Semi-manual” option (new in version 4), which allows you to manually “deghost” specific areas in the combined exposures. It is best to save the “Automatic” option for scenes that are heavily ghosted as the resulting image quality can suffer. Version 4 has a new feature, a high quality noise reduction algorithm, which can be applied to source images. There is still the option to use the old method as well, which applies the noise reduction to the merged 32-bit image. It is usually advisable to check the “Reduce chromatic aberrations” box. This option will attempt to correct color fringing due to chromatic aberrations of the lens. This can be especially problematic in HDR images. Here are the Preprocessing options I have chosen for the bridge scene:
 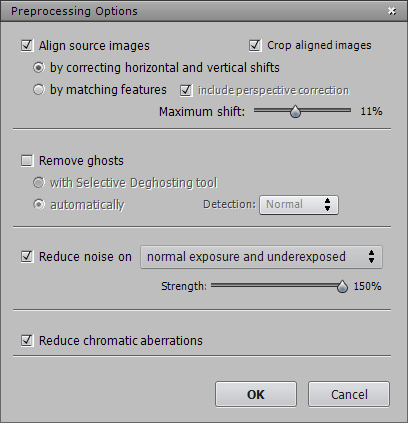 My tripod, although sturdy, was set up on loose dirt, so there was a possibility of subtle movement. I chose to “Align source images” “By correcting horizontal and vertical shifts”. To prevent noisy shadows, I chose to “Reduce noise” on “normal exposure and underexposed”. Finally, I checked the “Reduce chromatic aberrations” box as is usually recommended. After pressing OK, the initial processing of your three exposures into an HDR image will complete, and the tone mapping menu will open up:
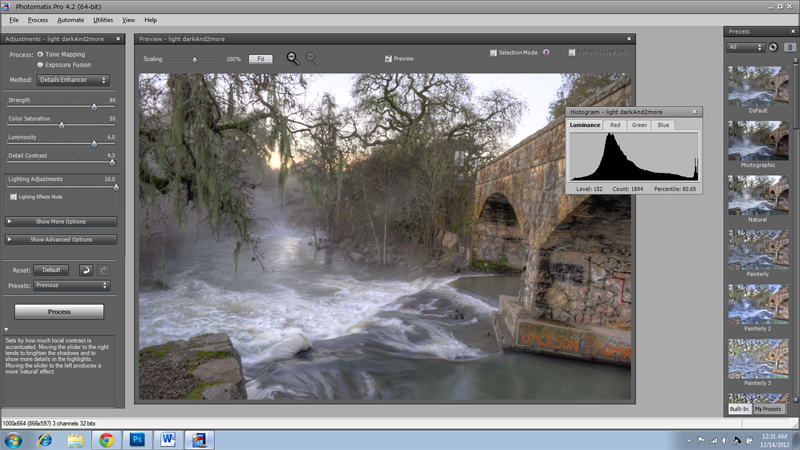
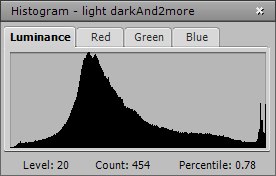
Your 32-bit HDR image will open in the tone mapping menu, with the default setting in “Details Enhancer”, unless you choose otherwise in “Preferences”. The preset thumbnails panel is new to version 4.0, and is a handy way to preview the results of either the built-in presets or presets you have created. The above image shows the merged 32-bit HDR image with the default setting in the “Details Enhancer” tone mapping method. To view a magnified section of the image, click on the desired image section with your mouse. The “Loupe” window will pop up: 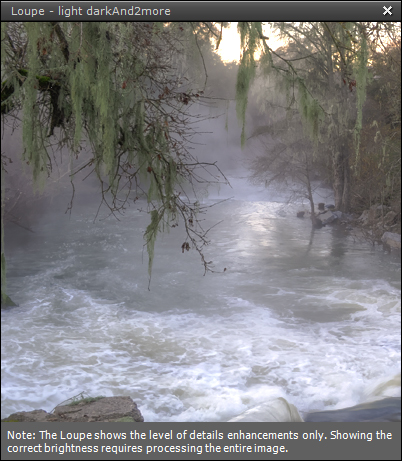 Note also the Histogram, which shows your images brightness values:
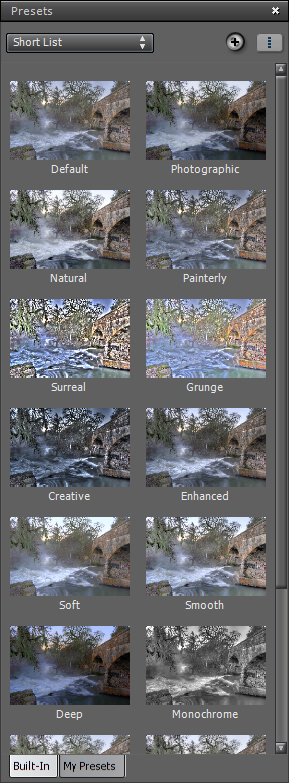
  Also worth mentioning are the preset thumbnails, which give you the option to choose a certain set of settings with one click. Sometimes I choose a preset that is close to what I want and make a few small changes. You can also save custom settings as your own presets for later use.
  I think the next step in this tutorial should be an explanation of the “Details Enhancer” tone mapping menu, which is by far the most utilized tone mapping method. The vast majority of the more surreal HDR images as well as many of the more naturalistic images have been processed with this tone mapping method.
Strength
Controls the strength of the contrast enhancements. 100 gives the maximum increase in both local and global contrast enhancements.
Color Saturation
Controls the saturation of the RGB color channels. Moving the slider all the way to the left produces a grayscale image and moving the slider to the right increases saturation.
Luminosity
Controls the compression of the tonal range. Moving the slider to the right boosts shadow detail and brightens the image. Moving it to the left can create a more naturalistic result.
Detail Contrast
Sets how much local details are amplified. Moving the slider to the right gives a sharper (and darker) look.
Lighting Adjustment
Either Lighting Effects or the slider mode. Lighting Effects tends to give more surrealistic results. In either mode, higher values have a more natural look and lower values tend to have a more artificial look. Smooth Highlights Reduces contrast enhancements in the highlights, preventing white highlights from turning gray or preserving a uniform blue sky.
White Point
Sets the value of the maximum.
Black Point
Sets the value of the minimum.
Gamma
Adjusts the value of the mid-tone of the tone mapped image. Brightens or darkens the image globally.
Temperature
Adjusts the color temperature of the tone mapped image. Moving the slider to the left produces a colder result and moving it to the right a warmer result. Micro-Smoothing Smoothes out the enhancement of fine details.
Saturation Highlights
Adjusts the color saturation of the highlights.
Saturation Shadows
Adjusts the color saturation of the shadows.
Smooth Highlights
Reduces contrast enhancements in the highlights. Often useful for reducing halos around objects in front of a bright background or to keep a white area from turning gray.
Shadows Smoothness
Reduces contrast enhancements in shadows.
Shadows clipping
Sets how much of the shadow range is clipped. Can be useful to reduce noise in a dark area. Here are the settings I have chosen for the bridge scene: 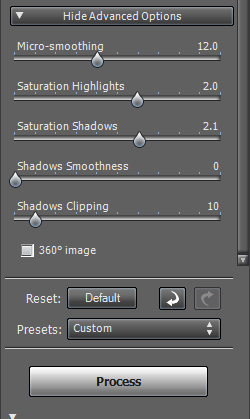

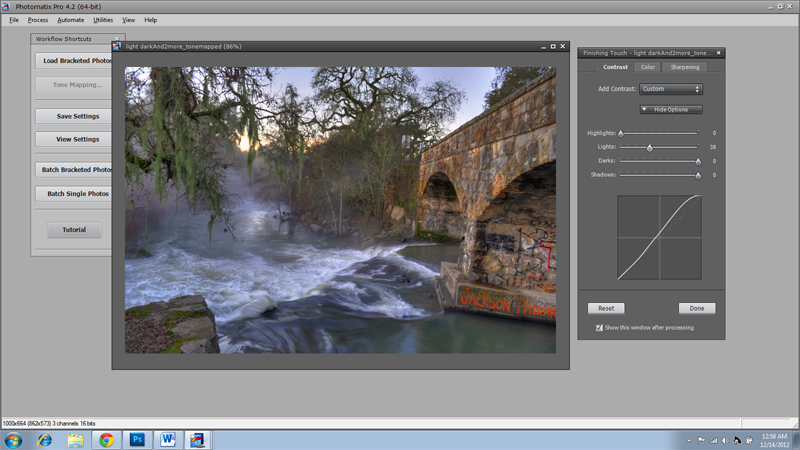
 Here is the image after clicking the “Process” button. You now have the option to make a few final edits as shown:
Typically, I do some post-processing on the saved tone mapped image in Photoshop. Here is my post-processed version of the above image:
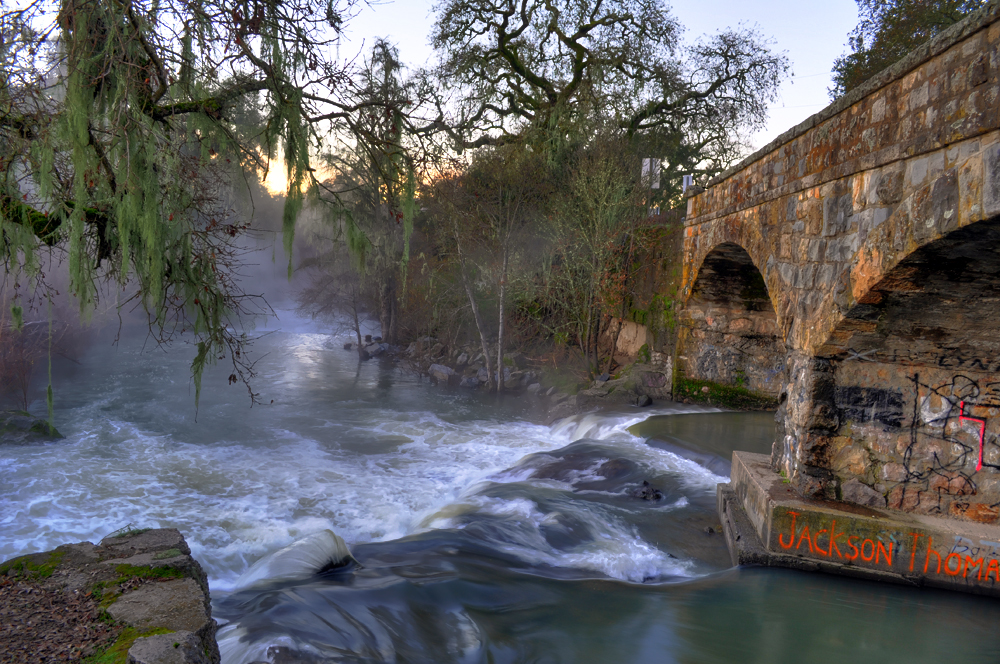 Can you find the hidden treasure that I chose not to edit out?
Again, you can use the coupon code “photoluminary” without the quotes for an instant 15% discount when you purchase any Photomatix product via HDRsoft.com.


Pingback: Professional Photography Software | Photoluminary
Pingback: Photomatix Coupon | Photoluminary
Pingback: What is the Best HDR Photography Software? | Photoluminary
Pingback: HDR Photomatix Pro 4 Tutorial