How to Make an Infrared Camera
While it is indeed much easier to simulate the look of an infrared photo with photography software such as Adobe Photoshop CS6 or Topaz Labs, I think that doing things the “analog” way can be very fun. Growing up in the 70s has given me both a low-tech and high-tech experience. Besides, it’s fun to tinker.
How to Make an Infrared Camera
Things you will need:
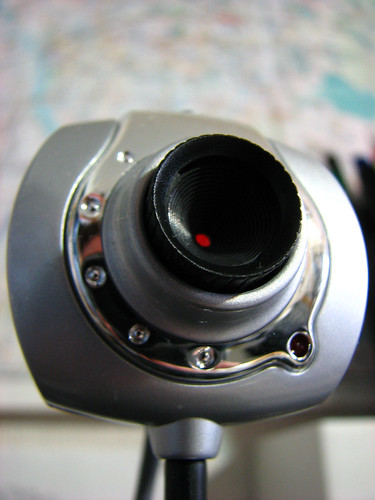
 A webcam that you don’t care about or use anymore
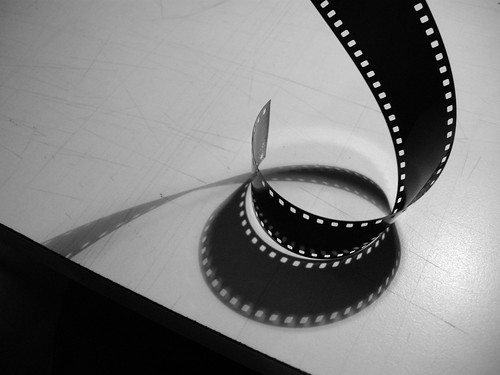
 Black exposed film
 Tool to take apart your webcam
Since a webcam sensor is sensitive to visible radiation as well as infrared radiation, this tutorial will go through the steps of removing the filter that prevents the infrared from hitting the sensor. Essentially, you will need to then replace it with a filter that lets in infrared but not visible light.
Step 1
Take your webcam apart. Since they are all different, I can’t really tell you exactly how to do this part!
Step 2
You will see that there is a circuit board with a camera assembly stuck to it. There will likely be a piece that holds the lens in that will screw out. Unscrew the lens, making sure to keep the sensor chip underneath clean and safe.
Step 3
Now, locate the infrared filter which is a small piece of glass with a red or green tinge. Sometimes it will just easily come off but you may need to carefully push it out. Be sure to protect the lens with something soft if you do need to push it out.
Step 4
At this point you will need to put the webcam back together in the reverse order that it was taken apart in, but leave out the filter.
Step 5
Attach the heavily exposed negative to the front of your camera using tape or some other makeshift holder. Whatever works.
Voila!


