Shutter Speed Tutorial
Welcome to my shutter speed tutorial. Having now written an article on camera aperture as well, I think that I will be continuing on with that vein over time. In addition to continuing to write reviews and software tutorials, I think it would be great to provide photography “lessons” on this website, starting with basic subjects such as aperture and shutter speed, and then progressing over time through intermediate and advanced subjects. I even like the idea of learning things myself along the way!
Download the Vintage Film Lightroom Presets
[/viral-lock]
In any case, let’s start with a basic explanation of shutter speed. In simplest terms, shutter speed is the length of time that a camera’s shutter remains open when taking a photograph. Together with aperture, the shutter speed controls the amount of light that reaches either the film or digital sensor.
The shutter is the device that lets light reach the film or sensor for a specific length of time.
There is a direct and reciprocal relationship between aperture and shutter speed. Changing either the aperture or the shutter speed by a full stop either doubles the amount of exposure or cuts it in half. So, different combinations of these settings can actually produce the same amount of exposure. For example, f/8 at 1/60th of a second lets in exactly the same amount of light as the following combinations:
f/5.6 at 1/125th second, f/4 at 1/250th second and f/2.8 at 1/500th second.
Most cameras now have both a Shutter Priority (S) setting or an Aperture Priority (A) setting. While your camera is set to Shutter Speed Priority, you can choose your own shutter speed, and the camera picks the aperture to properly expose the image. Conversely, the Aperture Priority setting allows you to pick your aperture, and the camera picks the shutter speed for proper exposure. This makes for quicker and easier shooting. If you choose to set your exposures in Manual Mode (M), you will have to choose both the shutter speed and the aperture.
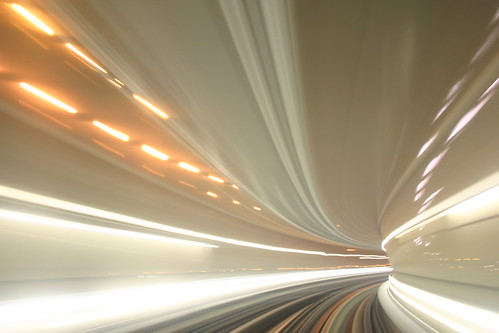
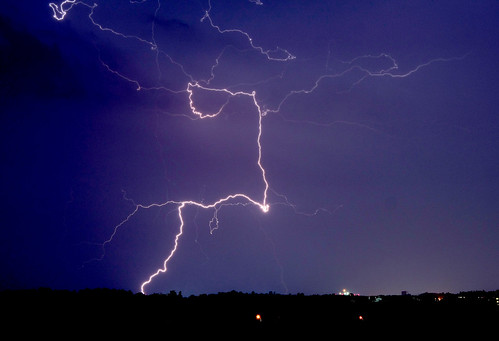
In order to take a sharp photo of a moving subject, you will need to choose a shutter speed which is fast enough to “freeze” motion. The shorter the exposure of a moving scene, the sharper the image.
However, sometimes you may not want to sharply “freeze” the action in a scene. For example, if you would like to convey the motion of a galloping horse with some emotion, it might be better to have a slightly blurred image. So, for each scene you need to choose the right shutter speed to convey your desired effect or emotional impact.
When selection your shutter speed, you also have to consider things like the speed and direction of the moving object, the distance from the camera of the moving object, and the focal length of your lens.
The shutter speed which is required to stop the movement of a running horse is less than the shutter speed required to stop the motion of a car going 65mph on the highway.
An object that is moving from one side of the frame to another will appear to be moving faster than an object that is moving directly at the camera, and will require a faster shutter speed to freeze motion.
The closer the moving subject is to the camera, the larger the subject will appear to be on the film or digital sensor, and the faster it will appear to move across the frame. So, a closer moving subject may require a faster shutter speed to freeze motion.
Also, the longer the focal length of the lens, the larger the image of the moving subject will be on the film or sensor, since using a larger lens is just like moving in closer to the subject. So, the focal length of the lens also needs to be taken into consideration when choosing shutter speed.
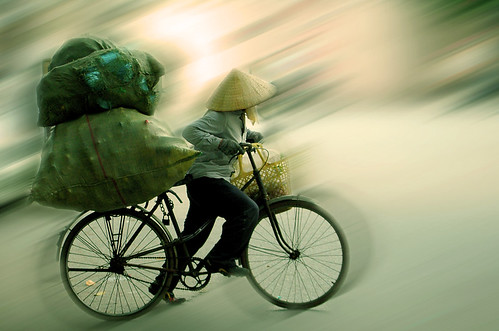
There is also something called “panning”. Panning involves moving the camera horizontally to follow the moving subject. This allows you to use a slower shutter speed. If you manage to move your camera at the exact speed of the moving object, your image will have the moving object sharply in focus, with a blurred background. This can be used for artistic effect and as a way to convey motion in your image. Also, it is good to note that if your background is “busy” you will get noticeable motion streaks, and if it is relatively plain the background will appear very uniform and solid. Either result can be desirable depending on the effect you are hoping to create.