How to Develop Film at Home
Whether you’re a novice who wants to learn more about photography or a serious amateur photographer who wants to maintain control over the development of your photos, learning how to develop film can be fun, interesting and rewarding. Although the process isn’t difficult, the steps must be completed with accuracy and the processing supplies must be used correctly. Save money and take ownership of your film development process by following these steps.
What you need
· Photo-safe red or blue light bulbs
· Light-blocking materials
· Secured clothesline
· Plastic hangers and film clips
· Old towel
· Plastic 9-by-13-inch pan
· Developer
· Fixer
· Stop bath
· Wetting agent
· Film reel
· Film developing tank
· Timer
Setting up
· Get the room ready. Block light from coming in any windows with black-out curtains or window shades. Have a door snake or thick blanket on-hand to block light coming in from under the door.
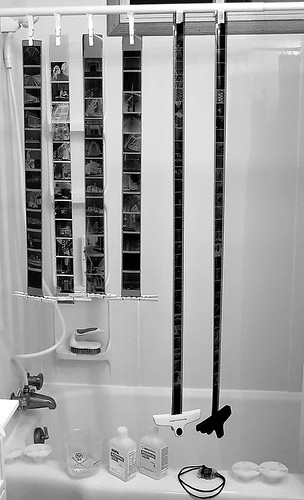
· Prepare a film drying area. Hang a clothesline, and place clothes hangers on it. Clip film clips to the ends of each hanger.
· Prepare your workspace. Lay an old towel down on your workspace, and place your plastic pan on the towel.
· Have your chemicals ready. Prepare your film-developing chemicals according to package directions and place them on your workspace before you start.
Processing the film
· Place film in the tank. With lights off, open the film canister, handling the film only on the edges. Feed the film onto the reel and wind it completely. Submerge into the tank.
· Presoak. Pre-soak 35mm film in the tank with water, for one minute. It’s important to use filtered water for the best possible film development.
· Developer. Determine the length of time you need for film development. Once the film is covered with developer, gently agitate it for 10 seconds every minute.
· Stop bath. Fill your tank with filtered water; place the film in the water and gently agitate. Replace with fresh filtered water and repeat once more.
· Fixer. Fix for five to 10 minutes, agitating gently for 10 seconds per minute. Do another stop bath afterwards.
· Wash. Fill the tank halfway with fresh filtered water. Swish the film for 30 seconds; replace with fresh water and repeat for a total of 10 minutes.
· Wetting agent. Prevent water spots by pouring a small amount of wetting agent in the empty tank, then filling it with water. Tap the sides to move any bubbles or foam away from the film. Leave it in the tank for 30 seconds, and then remove without rinsing.
· Drying. Gently lift the film off the reel. Clip it up and dry for four to eight hours.
You’re likely to make a mistake or two when you first try to develop film, so always start out with a “test” roll of film that doesn’t contain important images. Once you complete your first attempt, you’ll find that developing film – like anything else – becomes easier with practice. Don’t let a long list of supplies or steps stop you from doing one of the most rewarding things a photographer can do. You’ll find that controlling the process from beginning to end will result in a greater sense of accomplishment.
Felicia Baratz-Savage is a writer, graphic designer and photography lover living in Indianapolis. As a contributor to artroommelody.com, Felicia discusses various digital and traditional design practices.


One Response to How to Develop Film at Home