How to Replicate the Look of Velvia Slide Film in Photoshop
Velvia slide film became very popular among landscape photographers in the 90s, due to its super saturated and high-contrast look. Digital sensors will usually render a scene dull in comparison. So, in this digital photography age we have the ability to closely replicate the Velvia look in Photoshop.
Some photographers will tell you to simply turn up the saturation. This is actually a bad idea however, since it basically turns up everything indiscriminately. A better idea is to follow the instructions in this tutorial or use the free Photoshop actions which are demonstrated after.
Shoot in RAW
First, you should be shooting in RAW with your DSLR, and own Photoshop, in order to be able to make use of this tutorial.
Open your RAW image file in Adobe camera RAW. Here is the one I chose since it is pretty boring and I am hoping to improve it!
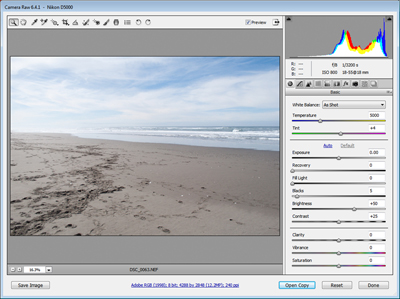 My boring beach scene upon first being opened in Adobe camera RAW
Once you have opened your image, change the white balance from “As Shot” to “Daylight”. Then, change Clarity to +25 and change Saturation to +20. The final step before opening the image is to choose the Camera Calibration tab and choose Camera Landscape. At this point you can now click “Open Image” and it will open up in Photoshop.
Hue and Saturation in Photoshop
Create a Hue/Saturation adjustment layer. While in the Master Channel, change the Saturation to +15 and Hue to +2. Now switch to Yellows and change Hue to +3, Saturation to +4 and Lightness to -8. Finally, switch to Blues and change Hue to +12 and Saturation to -4
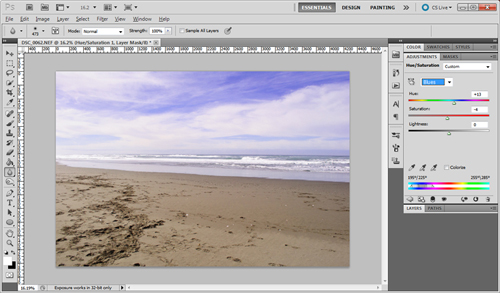 Not where we ultimately want to be yet!
Noise Reduction
To reduce noise in the photo at this point, you will first duplicate the background layer. Go to Filter>Noise>Reduce Noise. Change Strength to 4, Preserve Details to 60% and Reduce Color Noise to 35%.
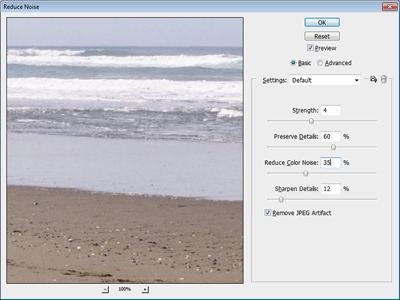
Sharpening
Duplicate the layer just created which will be called “Background copy” by default. You will now have a third layer which should be called “Background copy 2”. Change the Blending Mode of this new layer to “Overlay”. Go to Filter>Other>High Pass and change Radius to 1.5. This will increase the sharpness of your photo.
Now flatten your photo.
For the sake of comparison, here is the original as well as the final result:
 Original
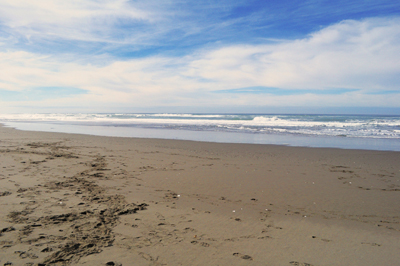 After
AfterAs you can see, the colors are a bit warmer and more saturated. I could have made the image even more saturated, but I ran the risk of a fake or garish result.
Velvia Photoshop Actions
Now that I have all that out of the way, there are a few free Photoshop actions that I recently downloaded. One is very good and the other is somewhat meh. However, I figured I would direct you to them so that you can see for yourself.
First, is my least favorite. It is called Ross-Alford-V-Film. Here is the original beach scene after being processed with this Photoshop action. I like the level of saturation, but it is possibly too blue-blah for my tastes:
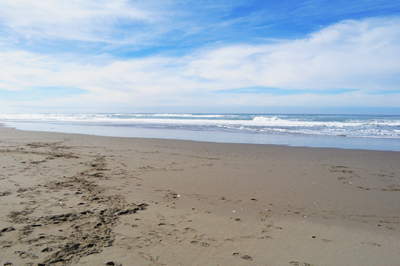 Not my favorite Photoshop action
Here is the result from my favorite of the two Photoshop actions, called simply Velvia. It’s so purdy:
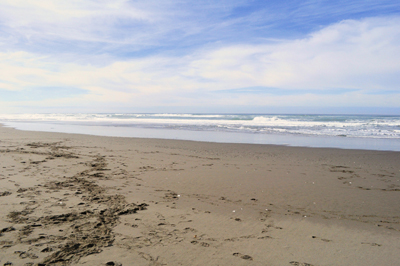 Velvia
Velvia film is known to not be the best for portraits since it usually over-saturates skin tone and makes it too warm. However, I had fun playing with my favorite Velvia action on a few images of my daughters. Here is an excellent example of a good result using the Velvia action on a portrait. The trick is to adjust the layer opacity when prompted at the end of the action rather than leaving it the default of 100%:
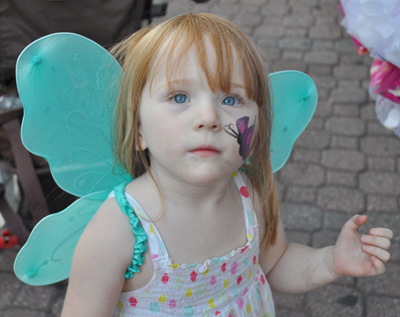 Original
 After Velvia action


2 Responses to How to Replicate the Look of Velvia Slide Film in Photoshop